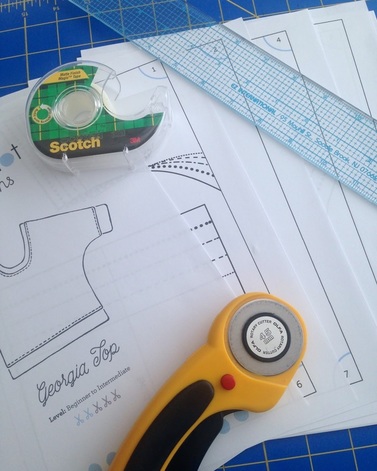
 There's nothing like the satisfaction of finding the perfect pattern for that fabric and then realizing you can have it immediately by printing it at home. You find it, buy it, print it and can be sewing in a few minutes! But... taping them together isn't quite as fun. Today I'm sharing the fastest way I've found to tape them together so you can be on your merry (sewing) way. Here's what you'll need: PDF pattern Rotary cutter Ruler Rotary cutting mat Clear tape (matte finish) Step 1: Test Square (don't skip this step) Print the test square provided on the pattern and verify that it's the correct size. In my example, the test square must be 4". If your test square size is incorrect, be sure to go back and make print setting adjustments (setting the printer to "actual" size is the common fix) until it's right on. Once everything is correct, print your pattern. 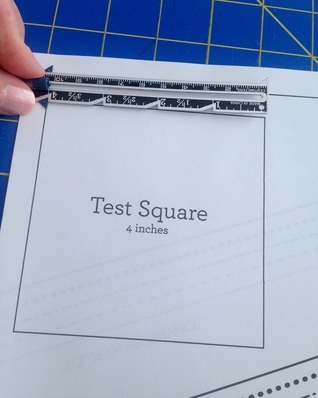 Step 2: Place ruler along the left line of pattern frame and cut off margin using a rotary cutter. Do the same for the bottom margin. 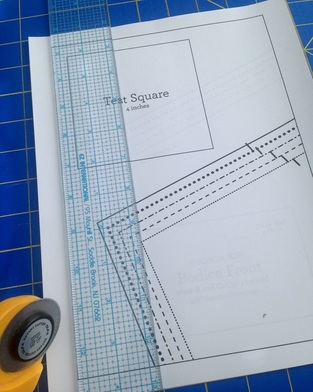 Be sure to leave the top and right sides untouched. Your pattern pieces should look like this: 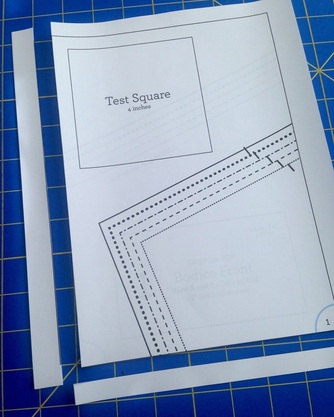 Step 3: Tape pages together Align numbers or markings on the pattern and tape. Because you cut the left margins off already, you simply need to slide the left page under the right. Tape pages together in rows from left to right. 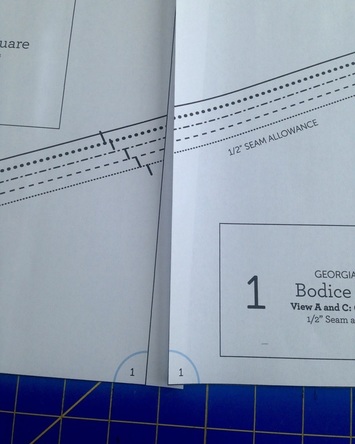 In this example, Blue Dot patterns have both a number and a circle to help make alignment accurate. I tape at all alignment marks and pattern lines to assure my pattern stays together. I use "matte" clear tape because it allows me to use a pencil or pen to make any fitting adjustments.  Step 4: Tape rows together from top to bottom. 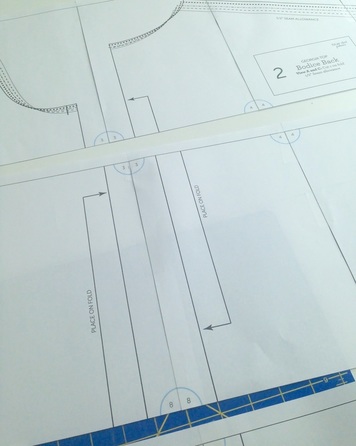 That's it! The rotary cutter saves so much time!
I hope this helps you enjoy your PDF patterns!
3 Comments
 Hello! I'm glad to be back on the Fabricmart blog and joining the other Fabricistas with a new summer project for May. Well, I may have been one of the few people on the sewing planet that hadn't made Wiksten's Tova Tunic, but folks things have finally changed. I'm bringing summer in with a sunny sunburst Tova. 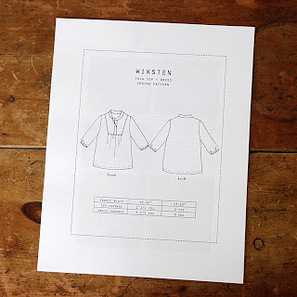 There are plenty of reviews of the Tova tunic out there so there's no need for me to review it here. But I will say although the blouse has simple lines and lends itself to all types of fabrics and embellishments, I wouldn't recommend it for a beginner. It's a seasonless pattern and would be a great project for an intermediate sewer. 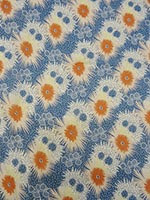 Some time ago I pinned a Steven Alan shirt onto my I Wanna Make This pinterest board because I loved the fabric. Eureka! I found it! Fabricmart's abstract bursts 100% lightweight handkerchief linen in white, blue and pale coral is just that fabric! This linen is lighter than any other I've ever worked with but still is crisp like other linens. I machine washed and dried it before I cut it out and it came out lovely. 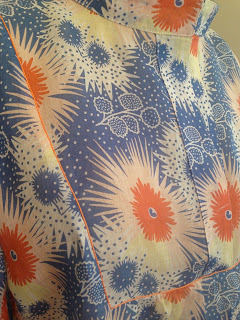 The colors are beautiful in this fabric and I decided to highlight the coral on the bib of the tunic using embroidery thread and my sewing machine. Reverse bobbin work is popular among art quilters but I don't often see it anywhere else. Quilters take decorative threads that don't fit through sewing machine needles and wind them on the bobbin instead. When you sew from the wrong side, the decorative thread from the bobbin shows through on the right side. 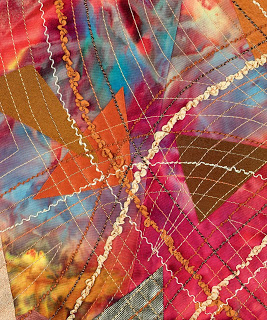 For the reverse bobbin work, I used DMC embroidery floss and wound it by hand on a bobbin and loaded it into my machine without changing any settings. Don't be afraid...just do it...it'll be okay. 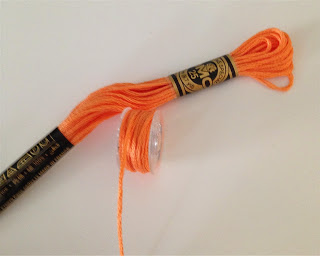 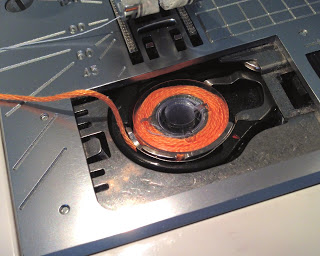 Working from the back of the blouse, I stitched along the seam line of the bib of the tunic so the bobbin thread would show on the front. It's as easy as that. 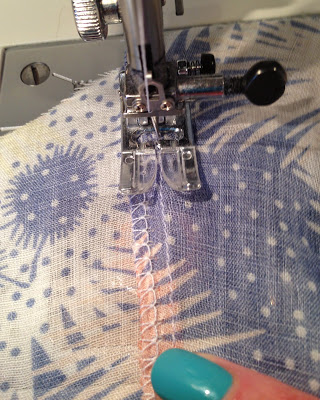 It's subtle but isn't it pretty? I also added some to the band of the sleeve. Once you get going it's hard to stop. And yes, reverse bobbin work washes well. 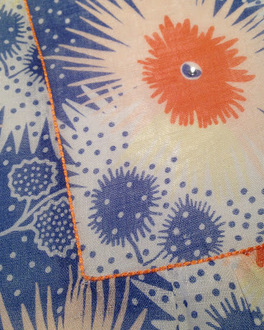  I ended up shortening the blouse 4" (I found it longer than the drawing suggests) but otherwise made no other changes. I will probably make it again this fall in a cozy flannel. Wouldn't it be great? But right now I'll enjoy my new sunny blouse.  Have you made a Tova?  |

About MeHi! I'm Diane, a wife, mom, sewing teacher and pattern designer from sunny Southern California. I share my sewing adventures here on the Blue Dot Blog formerly Gatorbunnysews. For more info click here. 
Categories
All
Archives
October 2022
|
 RSS Feed
Proudly powered by Weebly