|
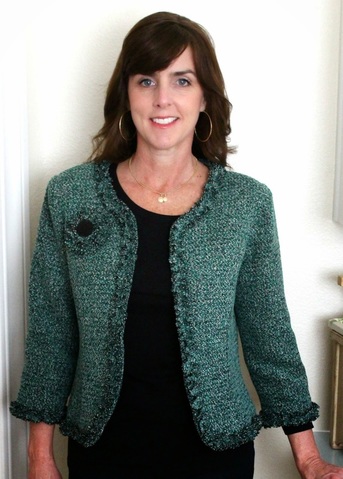
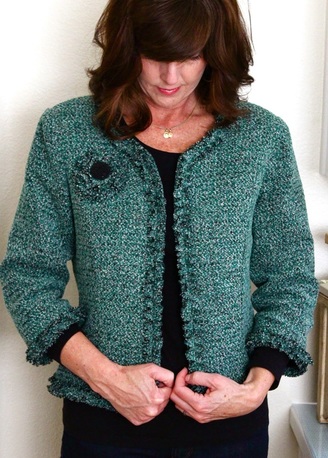
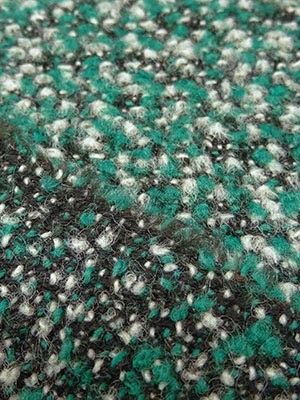
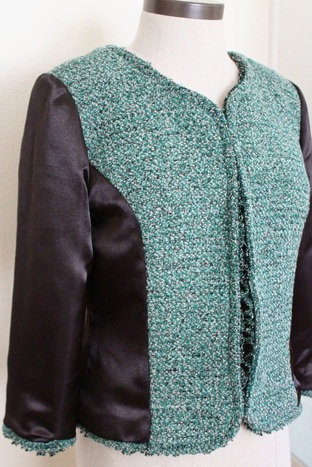
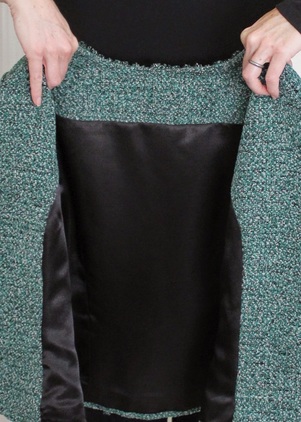
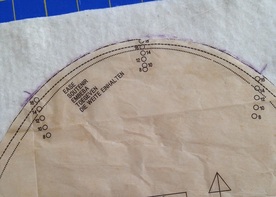
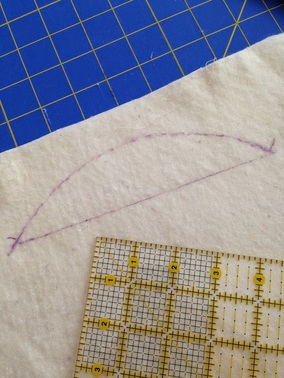
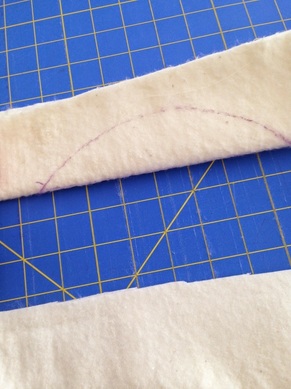
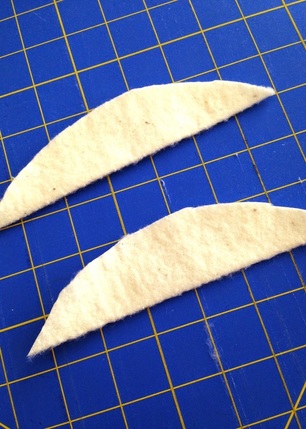
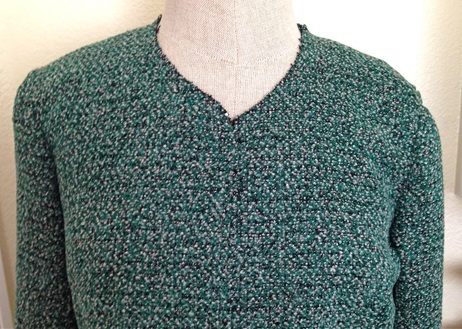
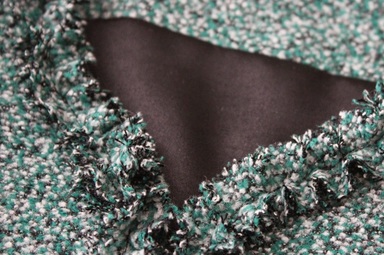
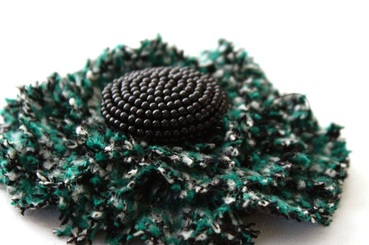
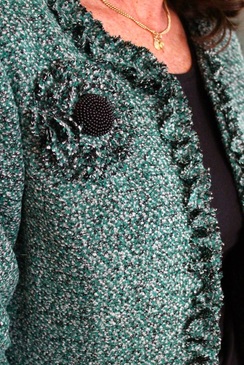
Happy New Year Friends! I'm happy to get my Fabricmart Fabricista year (Thanks Fabricmart!) off to a good start with a classic boucle jacket. It's a timeless style, classic fabric and beautiful color! I started with New Look pattern 6028 view A and chose Fabricmart's soft green, black and white boucle suiting, similar to the type of fabric used in the pattern photo (the fabric also comes in this pretty pink, yum). I used this Maggy London black satin for the lining. So luxurious! I didn't make any style changes or alterations to the pattern (don't you love when you get a pattern like that?) but I changed the lining. The jacket shell pattern and the lining pattern are the same, meaning, when you sew the lining and jacket together, the lining fabric is right up to the outer edge of the jacket. So if the jacket comes open or lifts up, you would see the lining right at the edge. I wanted a more traditional lining that included a facing all the way around the neckline and a hem. It's an easy remedy: 1) I added 1" to the hem of the jacket shell (there was only a 5/8" seam allowance). 2) I cut the jacket front facing out of the shell fabric. 3) I cut a back neck facing out of the shell fabric and attached it to lining. This boucle is great to work with because it has some natural give which makes sewing curves and easing in sleeves a breeze. I added a sleeve head to the sleeve to give the jacket additional structure. Here's how I made them (it's so easy you don't need to buy them): Trace the sleeve head onto lightweight fleece, from dot to dot. Draw a line from dot to dot. Fold along the line and cut out the curve. Sew the sleeve head onto the seam allowance of the sleeve, matching raw edges of fleece and sleeve. Stitch just inside stitching line (4/8"). Press all seams toward the sleeve. The sleeve on the left has a sleeve head and the one on the right doesn't. You can see what a big difference this tiny piece of fleece makes. The one on the left looks much better, it even makes the side of the jacket hang more smoothly. And this is all before shoulder pads! And now for the fun part....the trim! The outer trim on the jacket is simply bias strips of fabric gathered down the center. I used the gathering foot on my machine, set the tension to the tightest, used the longest stitch length and stitched until everything was gathered. I put the trim on with a straight stitch right over the gathering line. Super easy....and pretty! I had some leftover strips I sewed into a continuous circle, put a button on top of the raw edges and made a flower. I'm feeling pretty tricky right now! I think now it's time to make this jacket in pink!
What's next for you? Check out the blog post for this jacket and lots more at Fabricmart's blog. Here's my Patternreview.com review. Diane
1 Comment
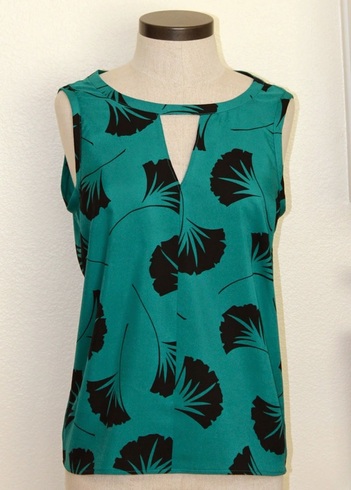
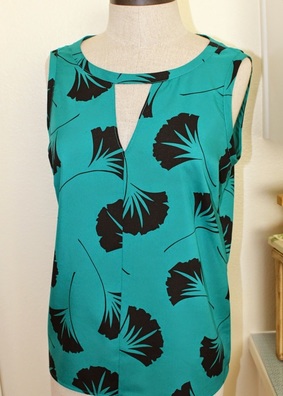
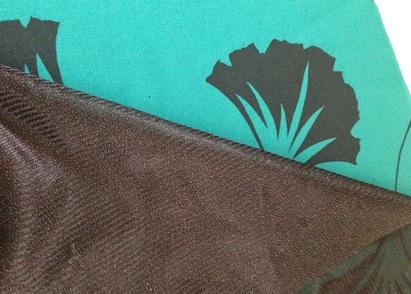
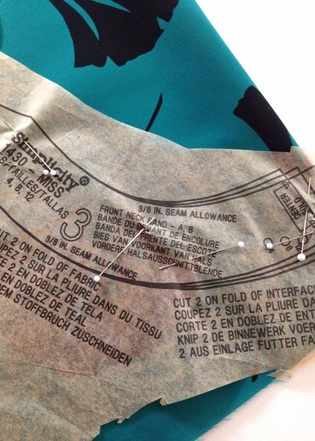
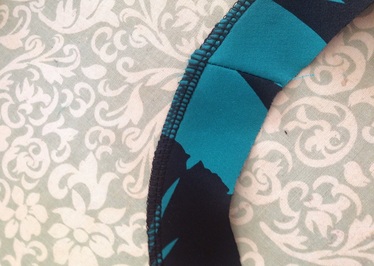
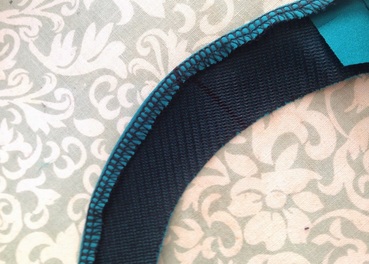
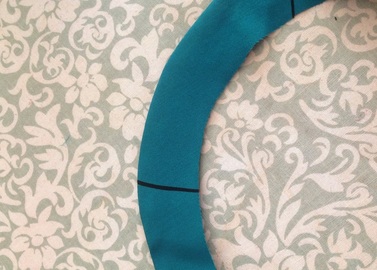
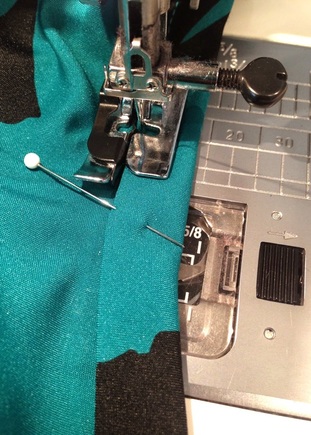
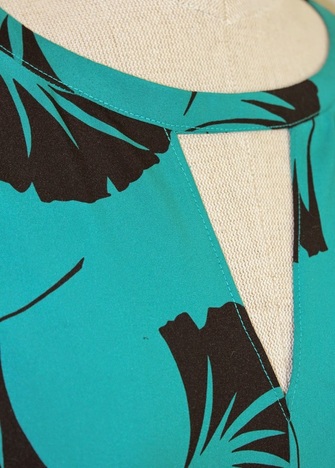
Happy New Year! Yes, I know I'm a little late. I wasn't quite ready for the new year just yet but it came anyway. I usually have a detailed list of what I'd like to accomplish for year including both sewing and personal goals, but this year I have only two resolutions: 1. Make my first PDF pattern to share with my sewist friends (that's you guys!) 2. Learn to crochet. I'm very happy to say I've started both! More updates on the pattern will be coming (I'll probably be making a pattern tester call very soon) and trust me, no one wants to see any of my crochet projects...at least so far. Uh-hem... I did a lot of Christmas gift sewing over the holidays so it's nice to get back in the swing of garment sewing. I've completed two projects so far this year, a jacket and this blouse. I bought Simplicity 1430 when it first came out and never got around to making it until now. I'm really glad I did. It's quick to put together and even though it's a simple shell, it's still really pretty. I'm not really sure where this fabric came from. I found it in the donation bag at work and I decided to bring it home and give it some life. It's a polyester (I wasn't lucky enough to find a silk in the donation bag) crepe with the perfect drape for the pattern. It has only a few seams and a band at the top. Since the pieces for the band are quite small and the fabric is very squwidgy, I found it easier and more accurate to fuse knit interfacing to the wrong side of the fabric BEFORE I cut out the pieces. It eliminates the need to cut out the fabric and interfacing separately and then trying to line them up on the ironing board before fusing. After seaming the front and back bands together, I serged all the way around the outer edge, as a guide, to make it easy to fold and press the small 1/4" hem it calls for. I love how clean it turned out! And so much less frustrating because of the serge stitch. I finished the band with a topstitch using my ditch-foot/blind hemming foot as the guide (I use this foot all the time) to be sure it was even all the way around.
|
About MeHi! I'm Diane, a wife, mom, sewing teacher and pattern designer from sunny Southern California. I share my sewing adventures here on the Blue Dot Blog formerly Gatorbunnysews. For more info click here. Categories
All
Archives
October 2022
|




 RSS Feed