|
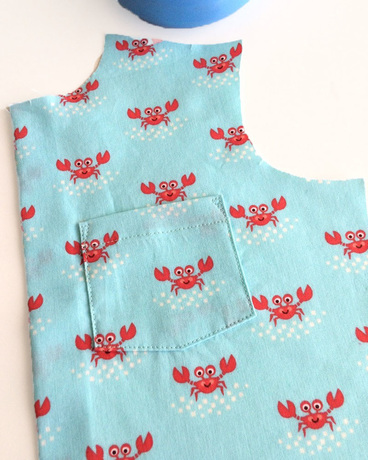
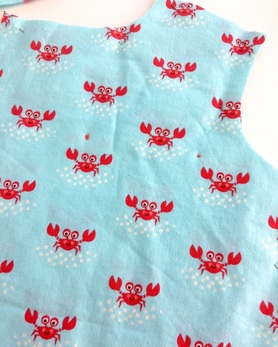
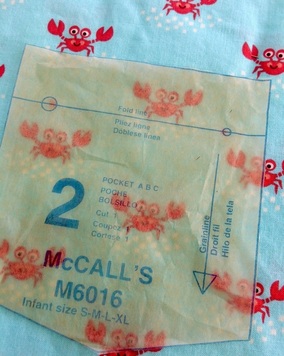
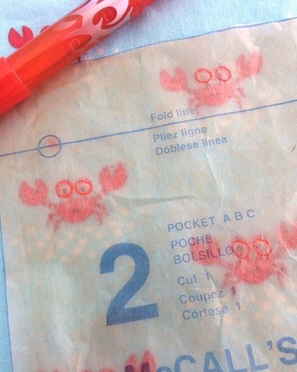
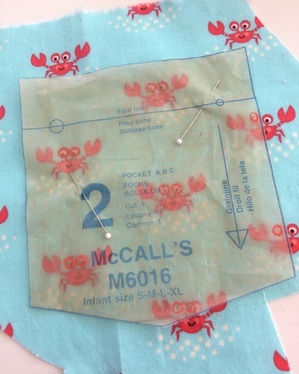
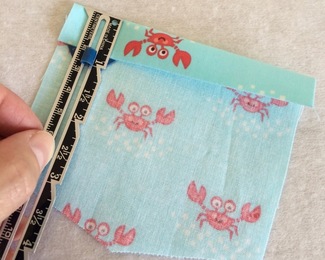
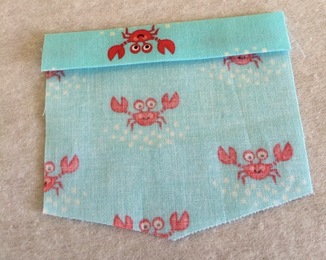
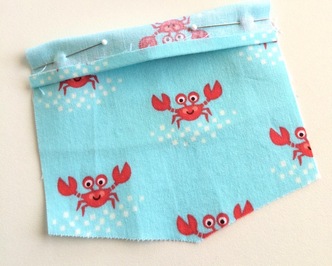
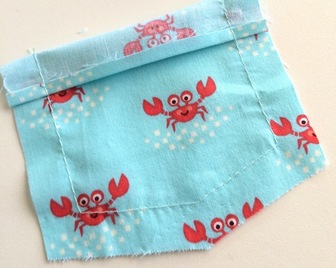
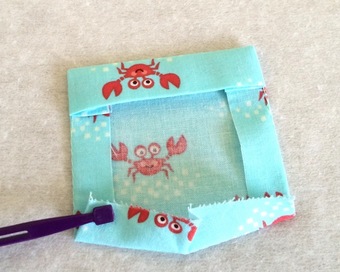
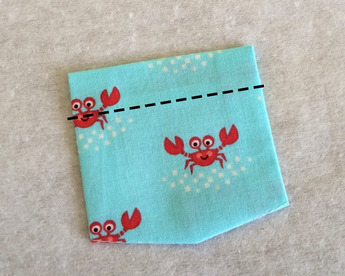
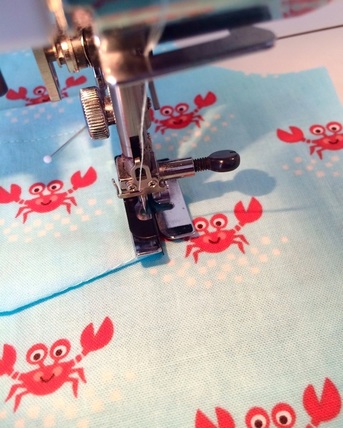
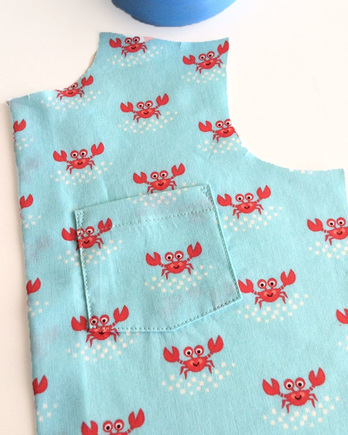
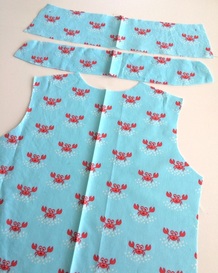
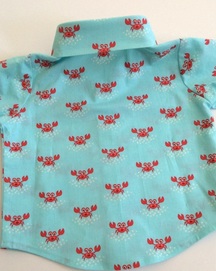
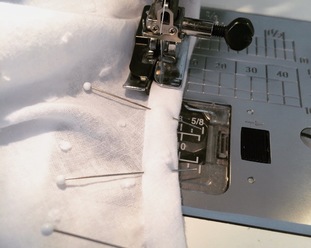
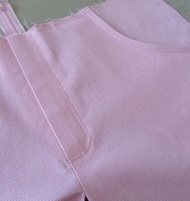
I made the tiniest little boy shirt out of this fabric and since the shirt was so small, I wanted to minimize the busyness of the pattern by matching the pattern on the pocket. Actually, if I were to be completely truthful, I really wanted to match the pocket because I love matching patterns and probably would never have another chance to line up "googly eyes". Learning to match a pocket is quick and this method works for prints, stripes as well as plaids. Here's how to do it: Here's how to prep the pocket and stitch it on:
3 Comments
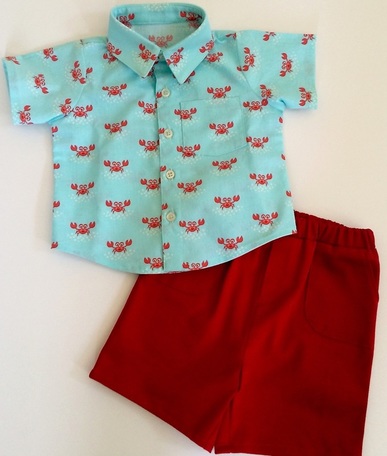
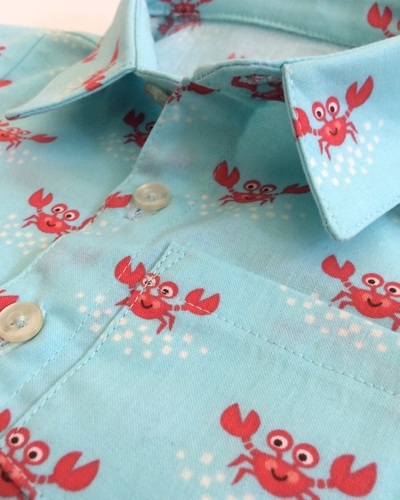
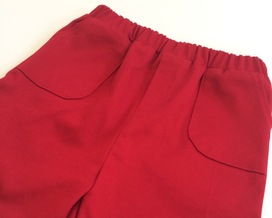
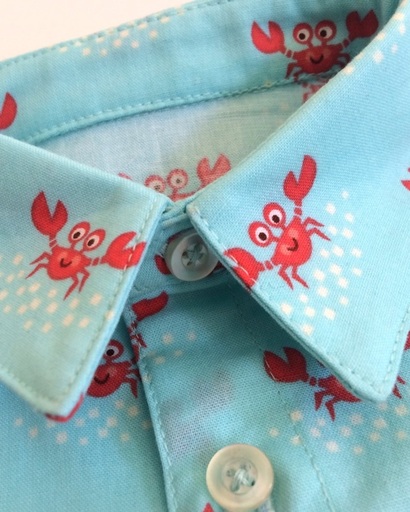
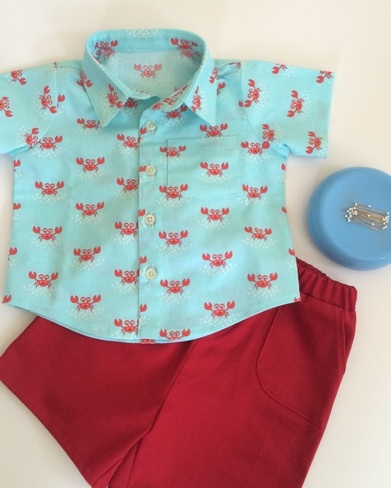
You can’t possibly be crabby when you see this shirt! This fabric is just so darn cute! I don’t get the chance to make clothes for little people because there aren’t any munchkins for me to sew for. Luckily, my dear friend has a grandson on the way and clearly he’s going to need a shirt for the beach since he’s a socal boy (and..I had to find a use for this fabric from Fabricland.) I have come to find there aren’t very many baby boy shirt patterns out there. There are patterns for toddlers but it wasn’t easy to find a collared shirt for a baby. McCall’s 6016 turned out to be a nice option and it included shorts. The shorts only took 1/2 yard, the shirt took 3/4 yard and I used buttons from my vintage stash. I made a size 1 even though I wasn’t sure what that meant. I went on the Gymboree website and compared the measurements from the pattern to their size chart and it looks like a size 1 translates to a 6-12 month at Gymboree. This helped me quite a bit because when I made the shorts it called for elastic that was a "comfortable waist measurement plus 1”. I didn’t have a little guy hanging around the house to measure, so I used the Gymboree waist size minus 1”. I find that elastic grows when it’s in the casing so I always size down just slightly. The shirt was too much fun to make. It probably took me 3+ hours to finish which seems like quite a bit for such a wee little shirt but there was lots of topstitching and I took my time working the collarband and collar. The pattern calls for the collar to be cut on the lengthwise grain but the crabs would have been sideways. I cut the collar crosswise to make sure they were facing up and quite by accident, the crabs landed on the tips of the collar. I also centered the crabs on the back collar and band and matched the pocket on the front. I loved this project and hope I get to see the little guy in it with his chubby legs coming out of the shorts.
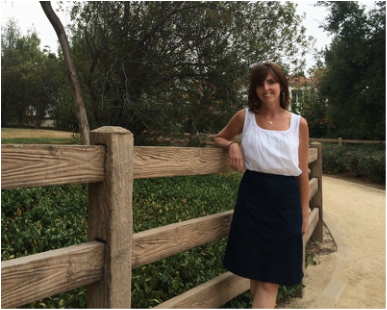
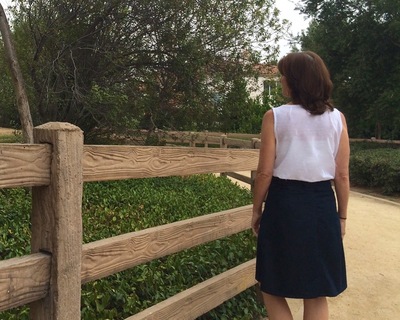
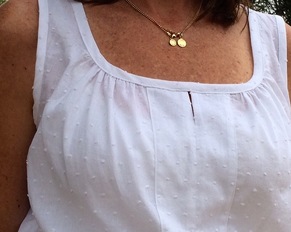
I continue to be “The Top Lady” with another top I made to fill my closet. This time, however, I added a nice summer basic that was absent from my wardrobe. This dotted Swiss came from Mood Fabrics in LA and it only took about 1 1/4 yards. I love a project like that! This is the third time this summer I’ve used New Look 6035. I used it here for a fun shell and here for a basic khaki skirt. The inspiration for this shell is a yellow top one of my students came to class in. So many times when my students come to class I touch the fabric they’re wearing or zero in on a detail. I’m sure they’re used to it by now but I think I might need to work on my “boundaries” when it comes to touching other people’s garments. I usually ask for permission but surely I forget at times. If you ever catch me touching a stranger’s dress in the grocery store will you slap my hand? Do any of you do this? I added a center front seam and a 3 1/2” wide band down the front. Originally, I wanted the top to tie in the front above the slit. When I finished it however, the tie opened the top so much you could see the camisole underneath. So awkward. Instead I made a shorter 1 1/2” slit and continued the 1/2” binding all the way around the neck and armholes. I also added my usual back neck dart to eliminate gaping in the back. Pants are under my machine right now so I’m breaking my top streak. Yay me!
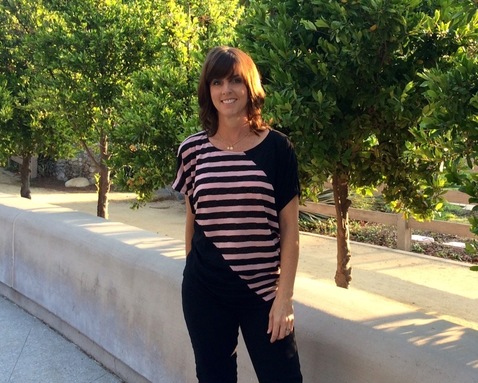
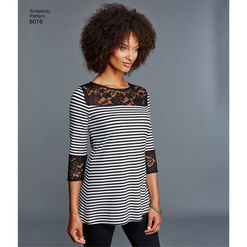
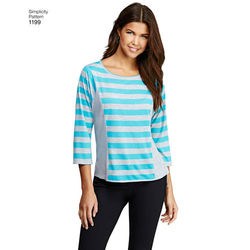
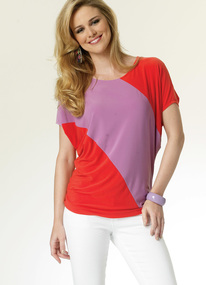
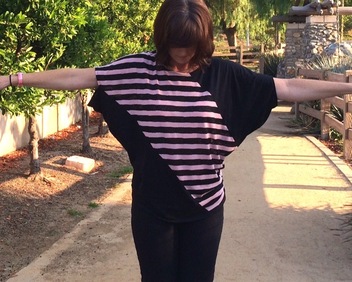
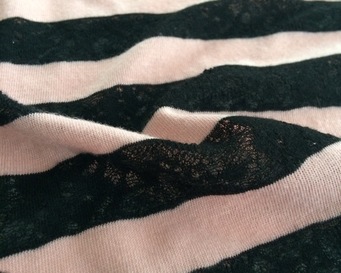
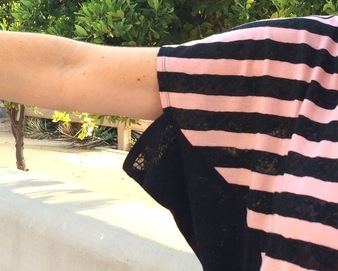
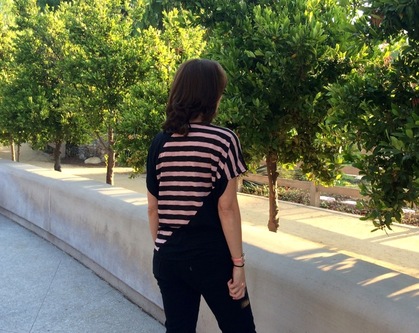
I’m pretty sure I didn’t make a top that looked this 80’s even back in the 80’s. This pink and black tissue weight knit has been calling my name for some time now so I paired it with a similar weight black knit and went on the hunt for a pattern. Originally I wanted something like Simplicity 8016 and still think this would make up great. Simplicity 1199 is also an adorable pattern but would be better in a heavier knit. I ran across Butterick 5753 (it's been out for years) and thought it would be fun and different than anything I ever wear. It took longer to cut out the top than it did to sew it because there are three front and three back pieces. The layout required some creativity to make the pieces fit on the fabrics. I prewashed both pieces and there was some shrinkage so if you plan on making this top I’d recommend buying 1/8 yard more fabric of each to make things easier. I made this top just like the instructions except for two things: 1. I added a neckband finish instead of the folded and stitched hem at the neck the pattern called for (I’ll never understand why patterns have us fold down a neck because it just never looks good.) 2. There are 2 pleats on each side of the top. I folded the pleats down instead of up as the instructions called for because it looked better. I think I’ll add one more pleat on each side. One sleeve has a notch finish that I didn’t notice in the drawing. It was a little persnickety so I used 5/8” wide strips of knit fusible interfacing on the edge of the hem to help stabilize. I folded up the hem and used a twin needle to finish. I’m not sure I’ll make this pattern again because it’s so distinctive but it’ll be fun to wear.
I have 2 more summer projects in the queue but already I'm thinking about fall sewing. Are you? |
About MeHi! I'm Diane, a wife, mom, sewing teacher and pattern designer from sunny Southern California. I share my sewing adventures here on the Blue Dot Blog formerly Gatorbunnysews. For more info click here. Categories
All
Archives
October 2022
|


 RSS Feed