 I finished my new Sewaholic Granville! But what is it with me and red Granville's you ask? I've made two and they both are red, what gives? Who knows, but I love them 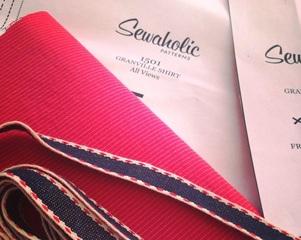 I made this version in a red and white micro stripe stretch shirting I purchased in NY. I trimmed the placket with a red, navy and cream twill tape I picked up at M and J Trimmings. It's one of those trims that's so precious I almost didn't want to use it....but I'm glad I did.  I made this Granville just like I did the first one and this time the "modified burrito" collar construction was so much easier. Have you tried it yet? I'm pretty sure I'll never put a collar band on the old way again. Sewaholic has a good tutorial here. 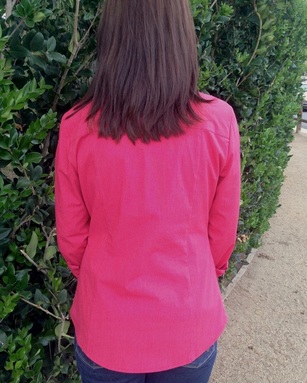 The made the cuff about 1" narrower than the pattern to make the sleeve roll up better and I straightened the side seam a little bit to take out some of the curve I didn't need. 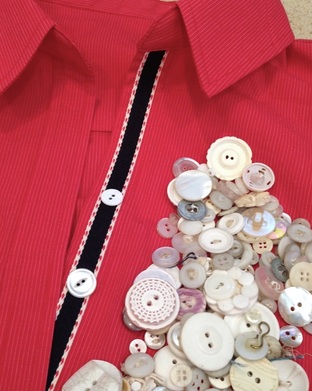 And now for the buttons. I have so many white vintage buttons it's almost scary. It took me more time to sort through the buttons for a set that matched (or close enough) than it did to make the buttonholes. Seriously, I need to give some of these away!  When I have a project with buttons, I only use the pattern to mark where the buttonholes go, not the buttons. After I put the buttonholes in, I then line up the fronts and mark the button placement. This insures the buttons are perfectly lined up. Here's how I do it 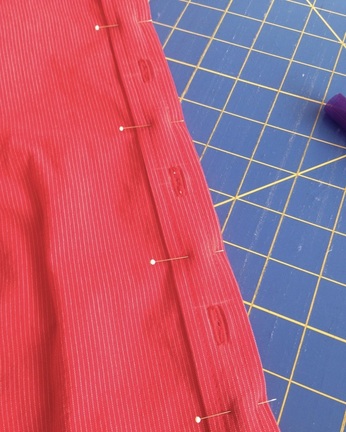 I lay the right front over the left front and pin them together. 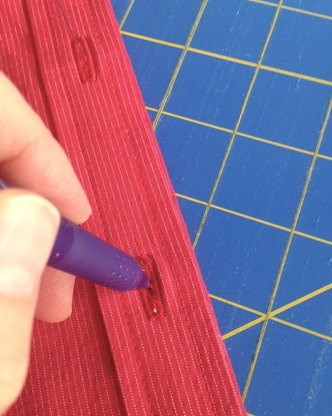 I mark the button placement with a fabric marker. Now, everything's all lined up!  I'm sure I'll make this pattern again....just not another red one....probably.
It turns out, red is really tough to photograph. The shirt is more of a cherry red but some of the photos look neon and some look tomato (and my nose really looks tomato red since I'm getting a cold!) Does anyone out there use a timer to take blog photos? If so, what do you use? I have the most patient husband ever but I really don't want to put him through snapping photos anymore. Help!
0 Comments
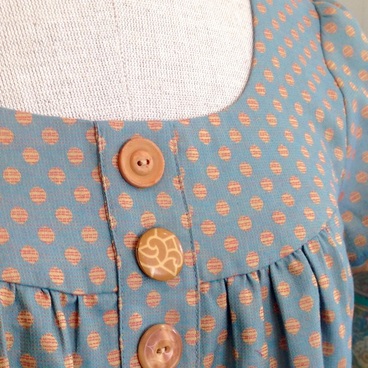
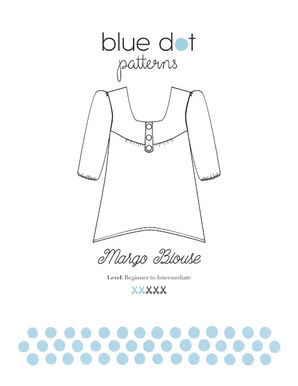 I'm happy to introduce my new pattern, the Margo Blouse!  The Margo Blouse is a women's set in sleeve blouse in two views. View A has short sleeves and a straight hem and View B has 3/4 length sleeves with elastic and a curved hem. This pattern is versatile enough to be a cool summer top to wear with shorts or an elegant evening tunic 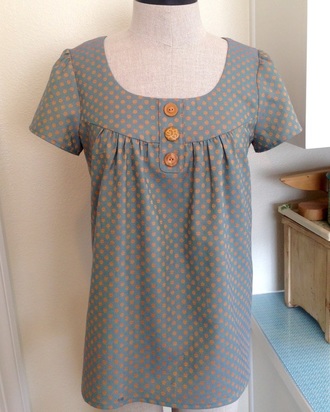 Margo is designed for the beginning/intermediate sewist and comes with easy to follow instructions complete with detailed drawings. 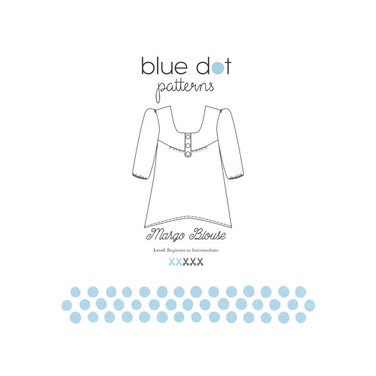 Modern quilting cottons, chambray, lace, silk crepe and flannel would all be good choices for this top. You can even change it up by using different fabrics on the yoke, placket and body of the blouse. 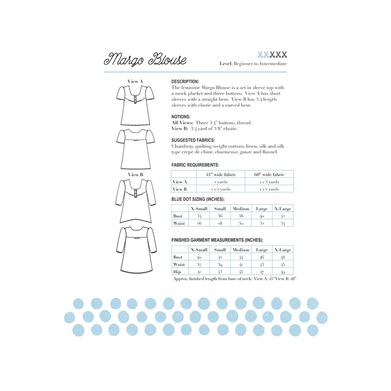 Here's what you'll need: Fabric Requirements: View A: 44"/45" Fabric - 2 yards 58"/60" Fabric - 1 1/3 yards View B: 44"/45" Fabric - 2 1/2 yards 58"/60" Fabric - 1 1/2 yards For all views: thread, three 3/4" buttons. For view B: 3/4 yard of 3/8" elastic. Visit the Blue Dot Etsy Shop or Website. I hope you enjoy sewing this pattern as much as I've enjoyed making it. I'd love to see your finished projects! 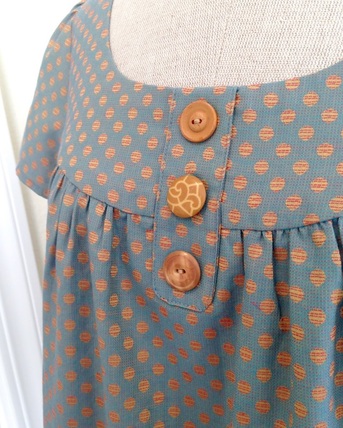 Happy Sewing my friends!
 I've been feverishly working on a new Blue Dot PDF pattern and I'm happy to say she will be released Wednesday, October 14th! Today, because I'm so excited, I'M GIVING AWAY 5 COPIES OF THE PATTERN before it's released. Just leave a comment at the end of this post and I will be picking the winners at random. Visit my Etsy or website to check out all of the patterns from Blue Dot. 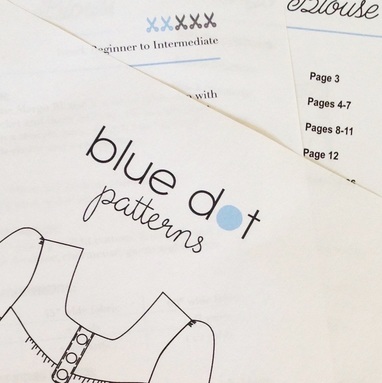 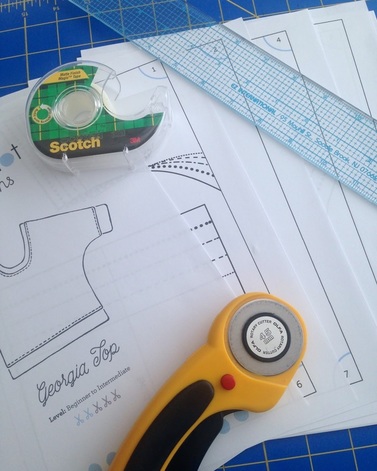 There's nothing like the satisfaction of finding the perfect pattern for that fabric and then realizing you can have it immediately by printing it at home. You find it, buy it, print it and can be sewing in a few minutes! But... taping them together isn't quite as fun. Today I'm sharing the fastest way I've found to tape them together so you can be on your merry (sewing) way. Here's what you'll need: PDF pattern Rotary cutter Ruler Rotary cutting mat Clear tape (matte finish) Step 1: Test Square (don't skip this step) Print the test square provided on the pattern and verify that it's the correct size. In my example, the test square must be 4". If your test square size is incorrect, be sure to go back and make print setting adjustments (setting the printer to "actual" size is the common fix) until it's right on. Once everything is correct, print your pattern. 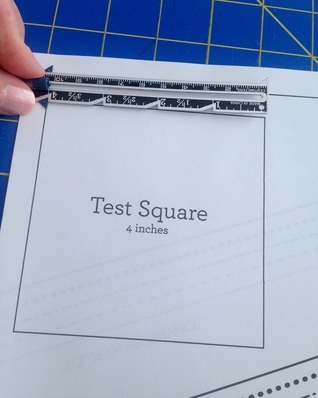 Step 2: Place ruler along the left line of pattern frame and cut off margin using a rotary cutter. Do the same for the bottom margin. 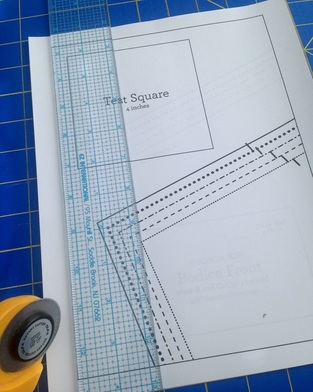 Be sure to leave the top and right sides untouched. Your pattern pieces should look like this: 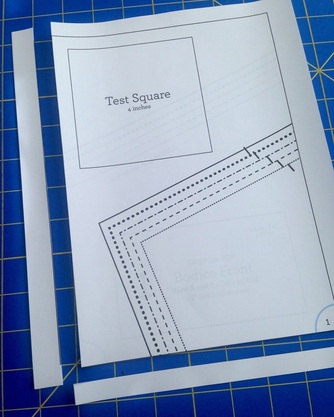 Step 3: Tape pages together Align numbers or markings on the pattern and tape. Because you cut the left margins off already, you simply need to slide the left page under the right. Tape pages together in rows from left to right. 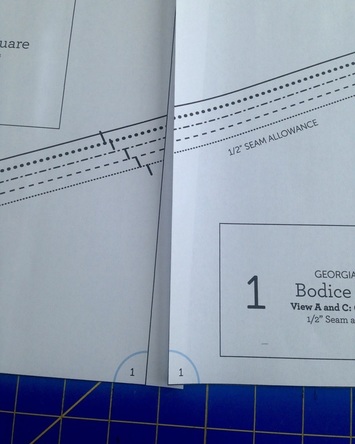 In this example, Blue Dot patterns have both a number and a circle to help make alignment accurate. I tape at all alignment marks and pattern lines to assure my pattern stays together. I use "matte" clear tape because it allows me to use a pencil or pen to make any fitting adjustments.  Step 4: Tape rows together from top to bottom. 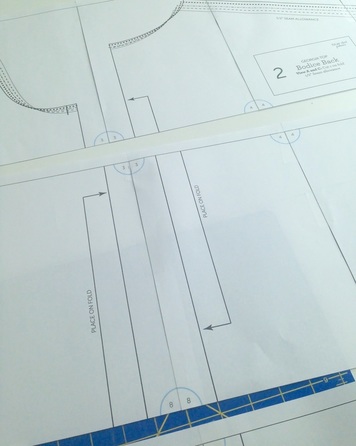 That's it! The rotary cutter saves so much time!
I hope this helps you enjoy your PDF patterns! |

About MeHi! I'm Diane, a wife, mom, sewing teacher and pattern designer from sunny Southern California. I share my sewing adventures here on the Blue Dot Blog formerly Gatorbunnysews. For more info click here. 

Categories
All
Archives
October 2022
|

 RSS Feed
Proudly powered by Weebly