|
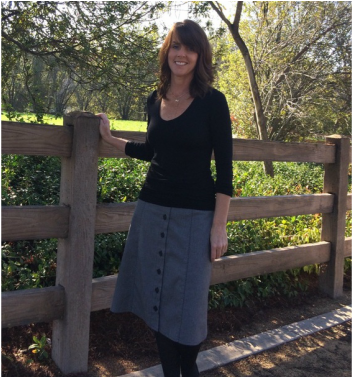
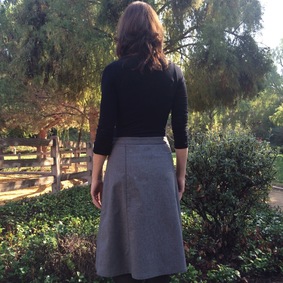
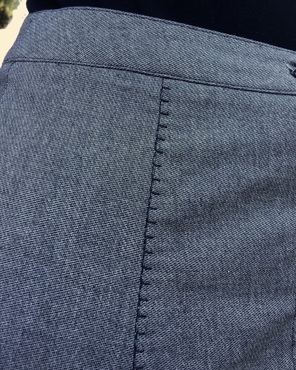
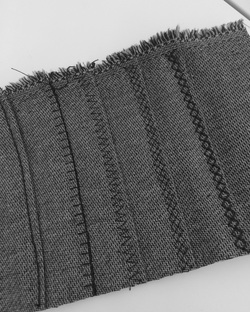
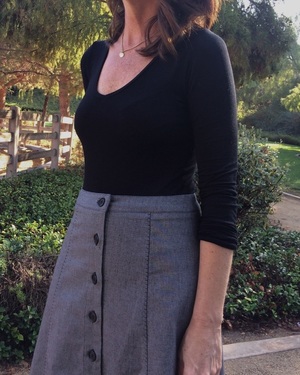
It’s week #1 of the “Bottoms-Up” Series - 3 Skirts in 3 Weeks. Skirts are a staple in my wardrobe and some new choices for work and play will be greatly appreciated in my fall wardrobe. Recently, I taught the Ally Skirt class and it was interesting to see the fabrics and buttons my students brought. One student used a hot pink corduroy with black snaps (very retro) and another used a suiting to add to her work wardrobe. It inspired me to dress up the Ally skirt pattern with a suiting fabric. I like this cotton suiting because it looks great for fall and winter without being too hot. I didn’t add any pockets but I did lengthen it 4” so it was just below the knee (my favorite go-to length). The skirt goes together quickly and I have to say the topstitching opportunities make this skirt fun to make. My “It’s in the Details” Pinterest page, where I put fun finishing ideas from the internet, served as inspiration here. I put a shout out on Instagram for a vote on which stitch to use on the seams. The blanket stitch won out and I’m so glad I used it! We’re always looking for ways to use those decorative stitches on our machines and here is a perfect place. Surprisingly, the most basic black button seemed the only way to go even though I had imagined silver buttons. The topstitching really needed to be the focal point so simpler was better. I have a wintery skirt in the works for next week with really fun trim. Stay tuned! Happy Sewing,
Diane
2 Comments
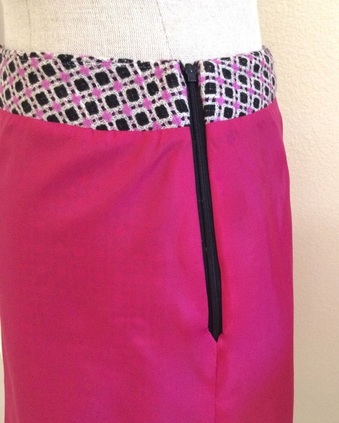
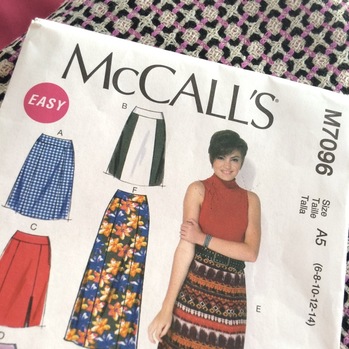
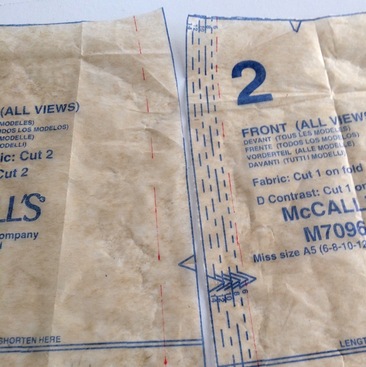
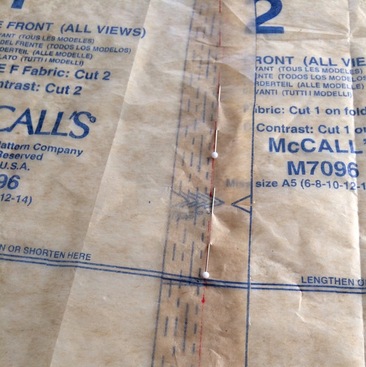
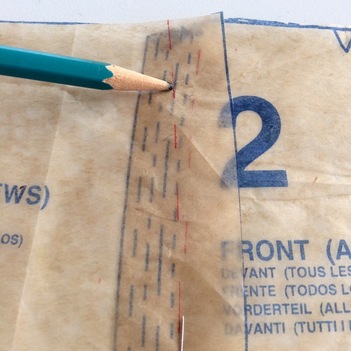
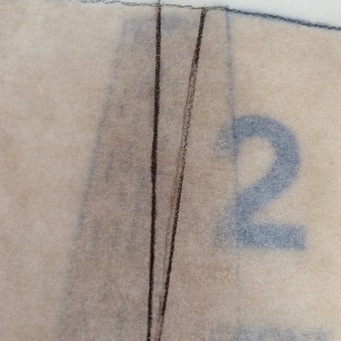
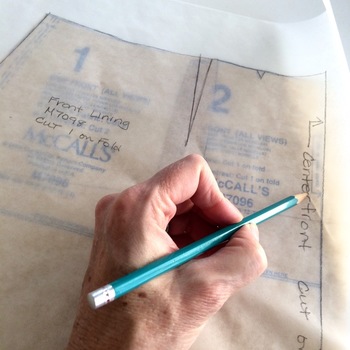
Deep down inside, I must be a little granny because I love to line my skirts (I've been known to wear a half slip but don’t judge). Cotton, linen or otherwise, making the the inside as pretty as the outside is part of the fun of sewing. I recently made McCall’s 7096, a six gore unlined skirt, out of a wool boucle. Needless to say I wanted it lined. Since I have a skirt blog series coming up soon, A "How To" for skirt linings seems appropriate. A lining should be as smooth as possible as the last thing we want to do is add bulk to the inside of a garment. Making a lining with as few seams as possible is the goal. I turned this six gore skirt into a simple one piece front and one piece back lining. Here’s how to do it: Draw the stitching lines on the front and side front pieces along the front seamline. Overlap the stitching lines and pin together. Go as far as you can while keeping the pattern pieces flat. They will spread into a “V” near the top. Place tracing paper over the pinned pattern pieces and trace the outside and the “V” at the top of the pattern. This forms the new dart or pleat. Make all the pattern markings on the new pattern and repeat for the back. Cut off the hem allowance from the original pattern (in my case I cut off 1 1/2” as stated on the pattern.) There it is! Easy peasy, right?
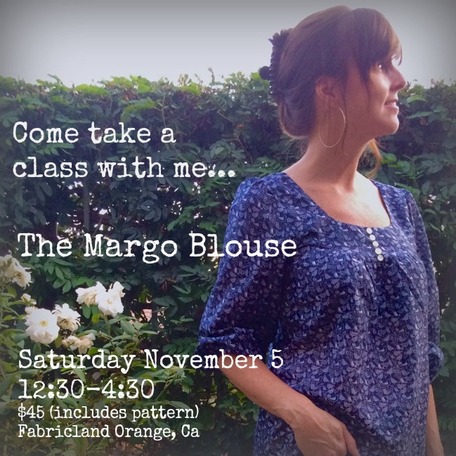
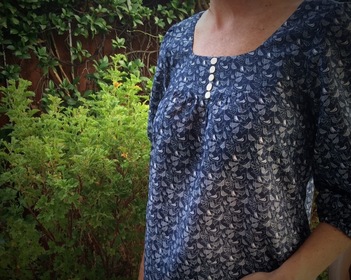
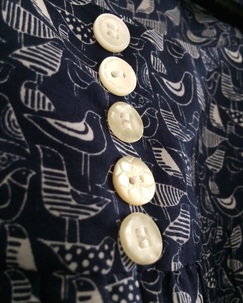
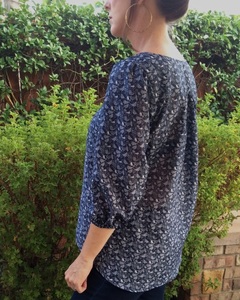
Enjoy! Here's my first make for fall, a new Margo Blouse. Actually, it isn't the first thing I made for fall but it's the first I'm sharing. There are quite a few things I've already made and even started wearing but I just haven't had a chance to photo. I bought this floaty cotton/silk voile at The Fabric Store in LA back in July. It has tiny block printed birds on it which make it whimsical without being over the top. This is view B without the placket but I added 5 mismatched vintage buttons. Anytime I can add buttons I do...it's such an obsession. I'm happy to announce I'll be teaching a Margo Blouse Class Saturday, November 5th at Fabricland in Orange, California. I keep the class sizes small so we can get lots done and still have a good time. Contact Fabricland to sign up. Since teaching is one of my favoriteist things to do, I'd love to see you there! What are you making for fall?
|
About MeHi! I'm Diane, a wife, mom, sewing teacher and pattern designer from sunny Southern California. I share my sewing adventures here on the Blue Dot Blog formerly Gatorbunnysews. For more info click here. Categories
All
Archives
October 2022
|



 RSS Feed