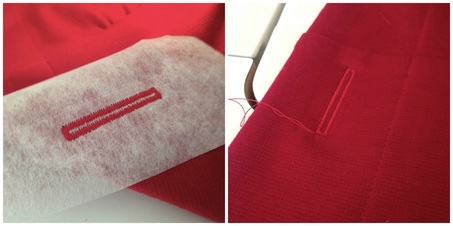
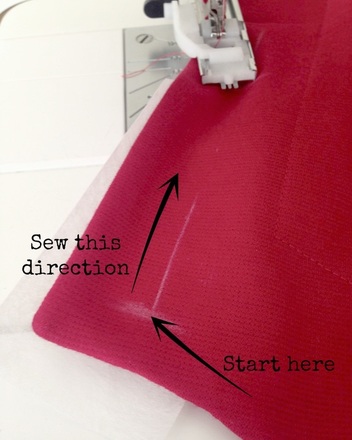
 It’s day #4, the final day of the Dover Jacket Sew-Along. Our jacket is almost there and now it’s just the finishing touches. Today we will cover the last three skills in “8 Things Every Sewer Should Know”: topstitching, buttonholes and sewing buttons on by machine. 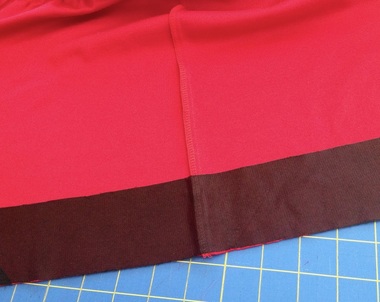 We are on to hemming the jacket. We will be adding interfacing to the hem of the jacket. This is not a usual step in most sewing but I find it gives a professional finish on the hem of some projects. On the wrong side of the hem of the jacket, fuse the 2 ½” strips of interfacing you cut earlier (details on how to fuse interfacing are in Day #2 of the Sew-Along). Repeat for the sleeves using the 1" interfacing strips. To make the hem, fold up ¼” and press, then fold along the hem allowance and press. Do this on both the hem of the jacket and sleeves.  To make a clean corner at the bottom of the your jacket, fold back the facing against the jacket front, right sides together and stitch along hem line. 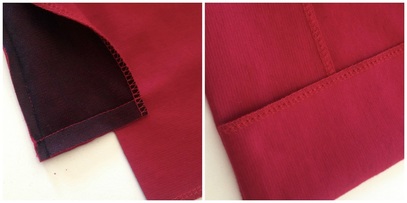 Cut excess fabric out of the corner. Turn and press. Looks pretty clean, right? Pin the hem in place. Sewing Skill #6 – Topstitching Now that your facing and hem have been prepped and pinned, it’s time to topstitch. There are so many creative options here including contrast thread, matching thread or any number of hand stitches. I’ve chosen matching thread for my red jacket but I used contrast thread and a decorative stitch here on this denim Dover.  If you’re new to sewing, I suggest you use matching thread (it hides imperfections a little bit better). And if you choose a decorative machine stitch, keep it light. Heavy decorative stitches can drag through the machine and get caught up. And honestly, there are few things more frustrating than taking out decorative stitches. It’s possible I know this from experience…eh-hem. So choose a pattern that's on the light side. 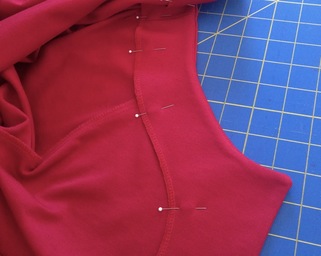 The key to making topstitching look good is marking (which we did in Day #2), pinning and feeding the layers evenly through the machine. 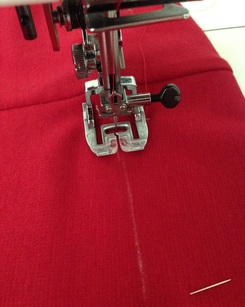 I use the built in “walking foot” for my machine here because it helps all layers stay in place. If you don’t have access to a walking foot, be sure to pin close together to keep the layers from slipping. Stitch on all topstitching lines and along the hem. Stitch sleeve hem in place. Sewing Skill #7 - Buttonholes It’s time for buttonholes. I know you’re afraid but stay with me here...you've come this far. I will be using the automatic buttonhole on my Janome 6600. This is a pretty standard foot so chances are if you have a automatic buttonhole option on your machine, your foot will work pretty much the same way. Buttonholes have already been marked so lets get started. 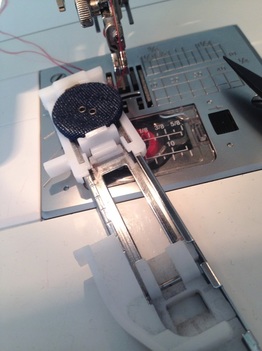 Place your button in the buttonhole foot by pulling apart the buttonhole slide on the back of the foot, put the button in and close the slide so it holds the button in place. Put the foot on the machine. 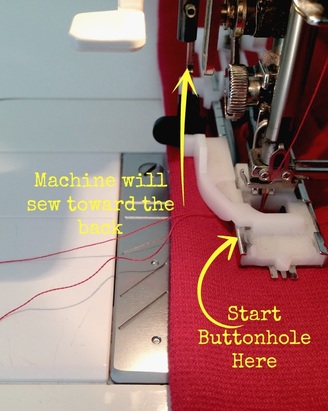 A really important note here: Typically when we sew, the machine pulls our fabric away from us toward the back of the machine. When sewing buttonholes, the sewing machine will feed the fabric toward you. Just the opposite of what we are used to.
 We are on the last step... putting the buttons on! 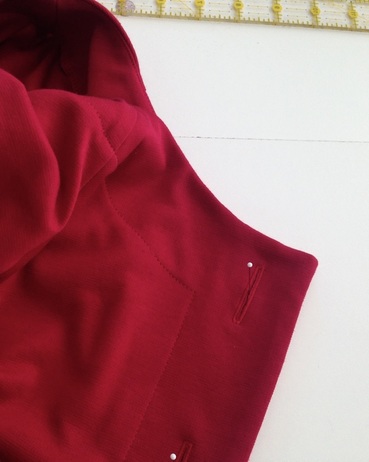 Let's start by marking the buttonhole placement. I found the easiest and most accurate way to mark button placement is by aligning the front edges of the jacket. In this photo, the right side of the jacket is laying directly on top of the left side of the jacket. Place a pin straight through the middle of the button all the way to the left side of the jacket. 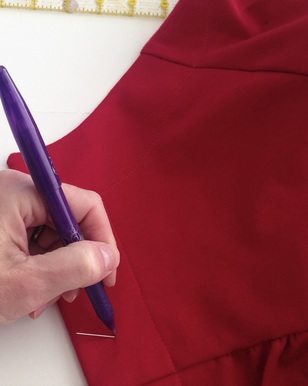 Turn the jacket over to the left side and make a mark, with a fabric pen, where the pin came through. This is where your button will be sewn on. This marking method ensures the button is placed perfectly in the middle of the buttonhole. Sewing Skill #8 - Sewing Buttons By Machine I bet you're excited about this one because if you're like most people, you find sewing buttons on by hand very tedious. You'll be happy to know it's really easy! 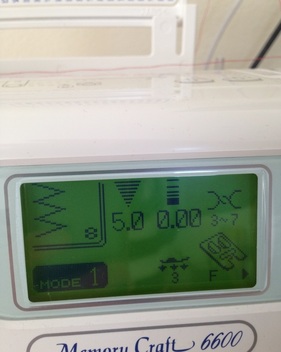 Prep your machine: drop the feed dogs on your machine and put your machine on a zig zag stitch. You can use your regular sewing machine foot or a special foot made for sewing on buttons. I just use my regular foot. 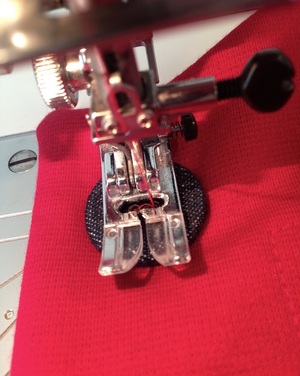 Put your button directly over your pen mark and place it under the machine with the holes of the button visible through the foot. Adjust the width of your zig zag stitch so the needle goes through both the left and the right hole. Test using only the hand wheel of your machine. Adjust and test until you're happy with the placement. Sew. Since the feed dogs are in the down position, the stitches will be made in place. I usually go back and forth 8 times for a really secure button. When you are finished, you can pull both threads to the back and tie a knot. 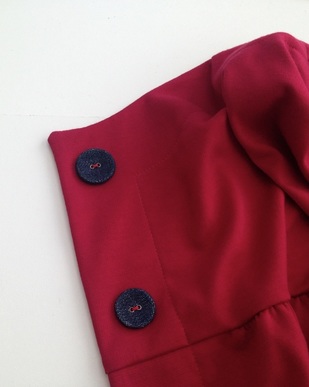 That's it. Now that you have the zig zag set up you can repeat with all other buttons without making any other adjustments.
This method of sewing on buttons is particularly helpful when you have lots of buttons to put on like on a shirt. You are finished!!!! Yay! Share what you make by joining our Dover Sew-Along Flick Group. We'd love to see it! Thanks for sewing along! Diane
0 Comments
Leave a Reply. |

About MeHi! I'm Diane, a wife, mom, sewing teacher and pattern designer from sunny Southern California. I share my sewing adventures here on the Blue Dot Blog formerly Gatorbunnysews. For more info click here. 
Categories
All
Archives
October 2022
|

 RSS Feed
Proudly powered by Weebly