|
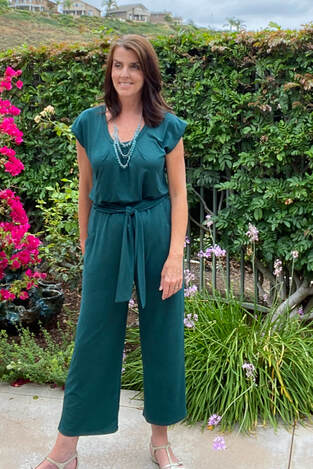
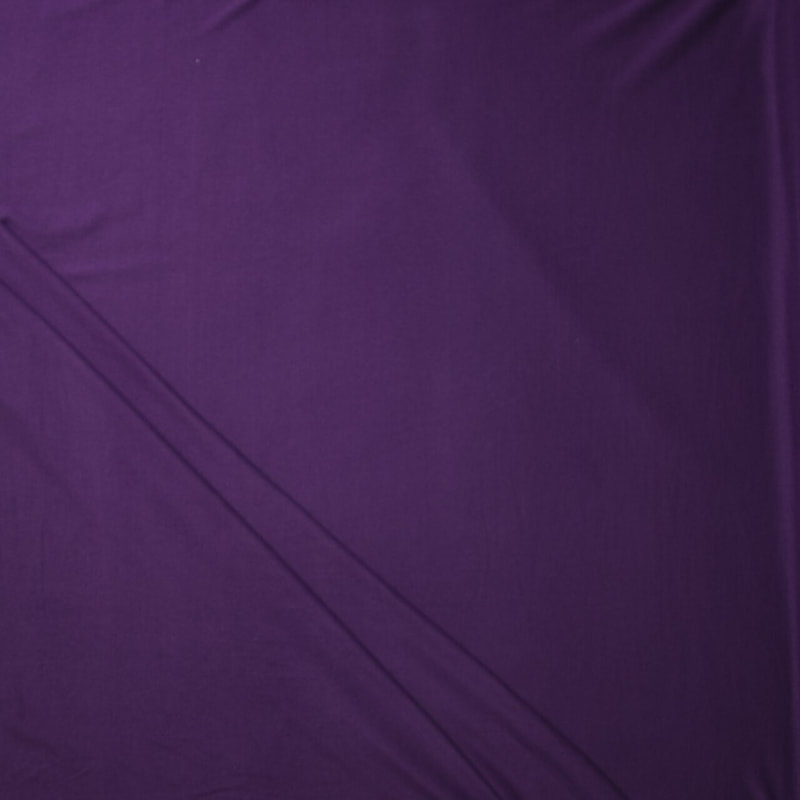
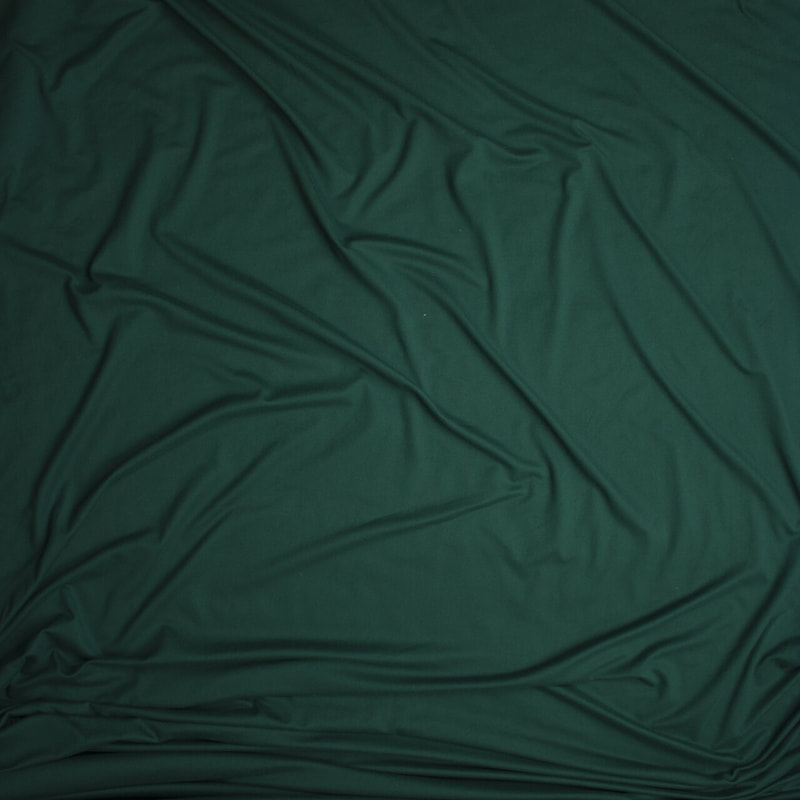
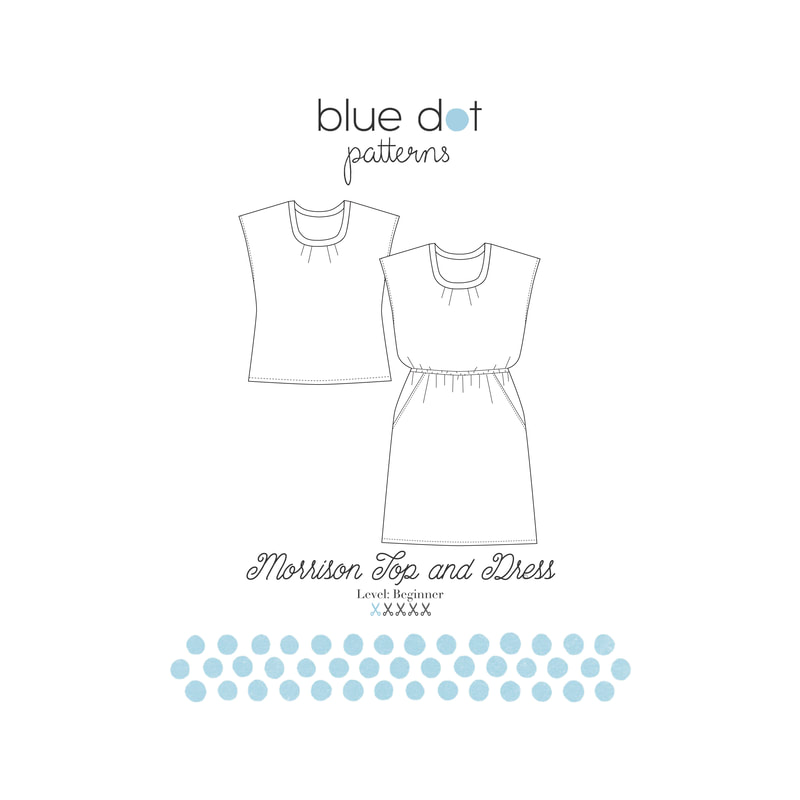
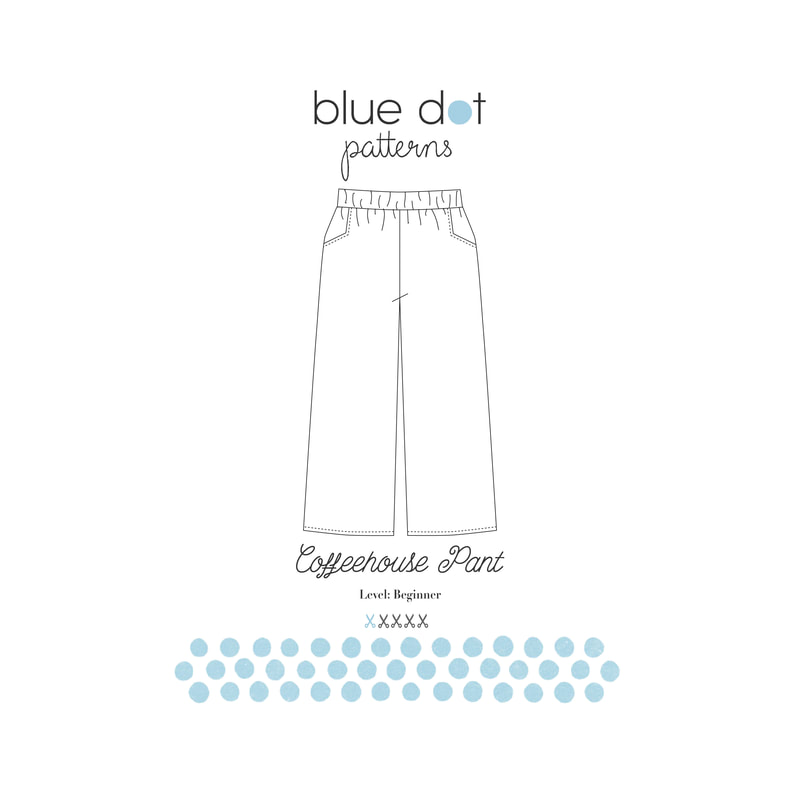
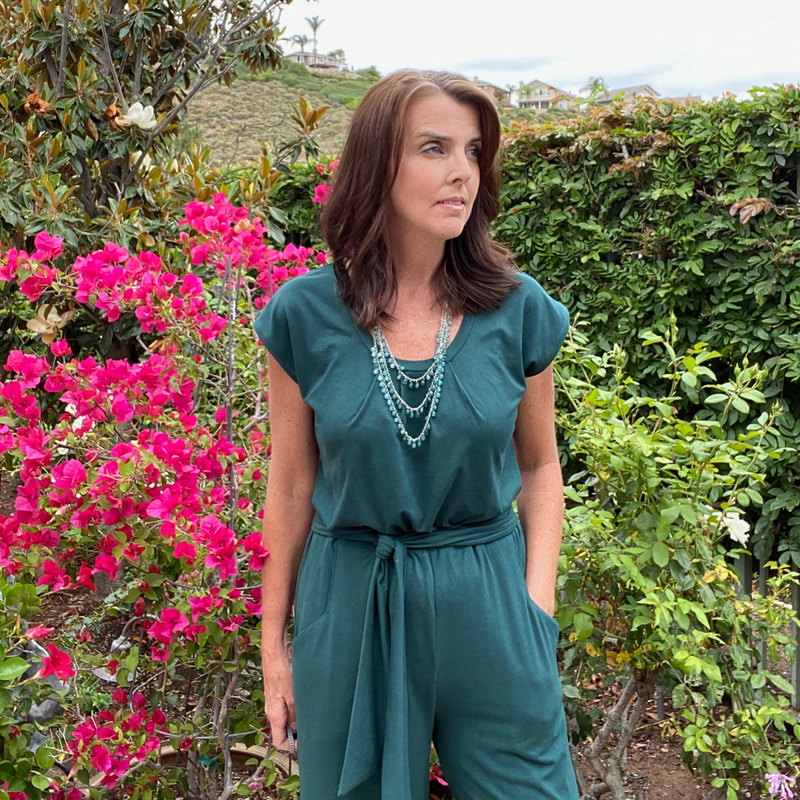
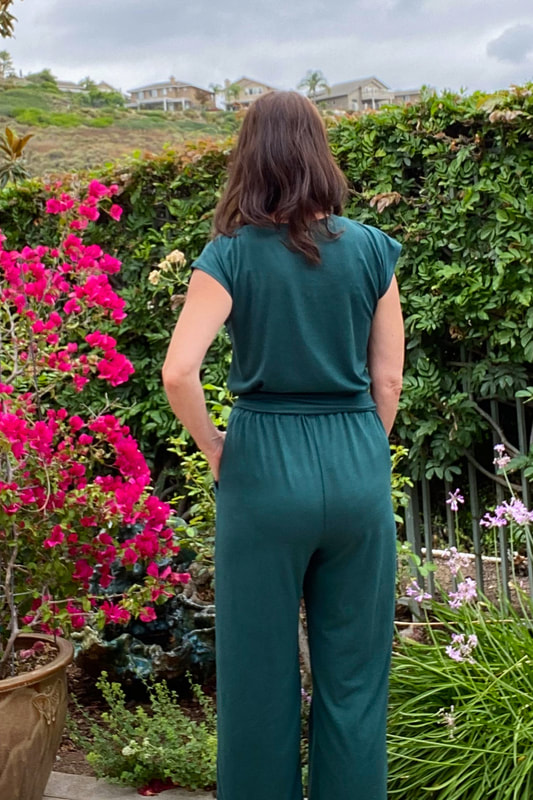
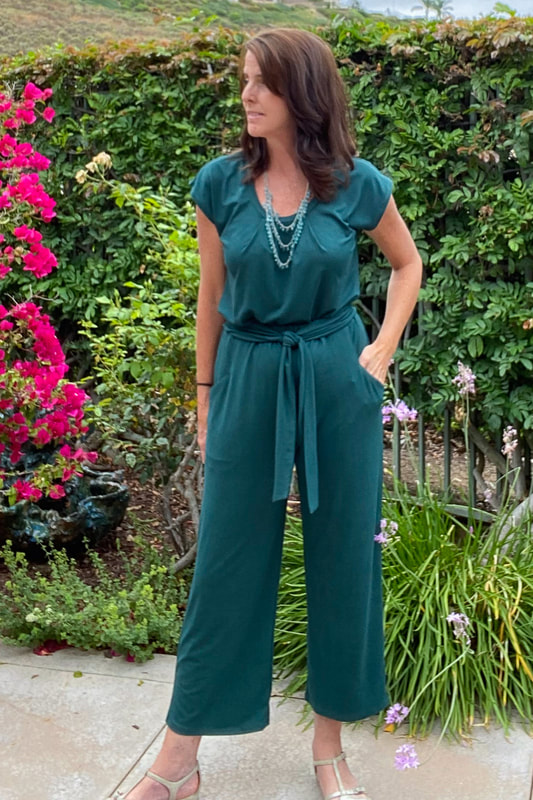
Jumpsuits are all the rage, both in the stores and in the pattern books. I’ve been inspired by all the different versions out there (I love this one from Made By Laquana) but I have to admit, I’ve been reluctant to make one since I really don't want to deal with the "operational issues" that come with wearing a jumpsuit. The best part of sewing, however, is we have the opportunity to solve these fashion issues that might otherwise hold us back. I made up two of my most used patterns in the same fabric and now have my faux jumpsuit and as a bonus, two additional separates for my wardrobe. I'm excited to be a guest blogger for Cali Fabrics and have the opportunity choose fabric from their large collection of knits for my "jumpsuit". The emerald green double brushed poly from Cali Fabrics was my jumping off point for this project because I knew I wanted something comfortable and in a beautiful color (it comes in a large selection of both solids and prints, too!). If you haven’t used double-brushed poly before, it’s definitely a knit to try. It’s stable (keeps it’s shape), soft, washable and doesn’t curl when you work with it. If you’re new to knits and need something light to mid weight, this is a great place to start. And on top of it all, it’s pretty wrinkle free so it travels well. The fabric has a 59" inch usable width and took 4 yards to make the top, pants and tie. I paired the Morrison Top and Coffeehouse Pant patterns (both are in a "Summer Bundle" sale for $15!) because they are versatile enough to adapt to a project like this. Needless to say, I have several versions of these patterns already in my closet but reinventing them as a jumpsuit makes them look completely different. I sewed the top in a straight size 6 and made a few easy changes to the pant pattern to give it the “jumpsuit” look I was after. Here are the changes I made: Widened the pant leg 4”: At the pant hem, I added 1" to the width at both the inner and outer leg and blended the seams. Added 4” to the rise: I raised the rise on the front, back, pocket and pocket facing pieces. This included 2 1/2” to bring it to true waist and 1 1/2” for a fold over casing. Used 3/4” elastic: Instead of the 1 1/2” the pattern calls for, I used narrower elastic since it would hit at the true waist. Made a fold over casing instead of a waistband: This reduced bulk at the waist. Added a 3” x 58” self tie. I cut a 7" x 59" piece of fabric, folded it over, right sides together, and stitched. As I was making this outfit, I realized this would be a great option for a capsule wardrobe. Make up these two pieces in a navy or black double brushed poly and you'll have a great foundation for a mini wardrobe. Add a striped cardigan and floral skirt and you'll have a weekend getaway capsule that's easy to pack and wrinkle free. So many projects, so little time!
I want to thank Cali Fabrics for the beautiful fabric and inspiration. It's always a pleasure working with you and your gorgeous fabrics! Happy Sewing, Diane
2 Comments
7/12/2020 07:53:01 pm
What a wonderful idea to combine these two patterns. It came out so beautifully.
Reply
Diane
8/4/2020 02:44:02 pm
Thank you!!!
Reply
Leave a Reply. |
About MeHi! I'm Diane, a wife, mom, sewing teacher and pattern designer from sunny Southern California. I share my sewing adventures here on the Blue Dot Blog formerly Gatorbunnysews. For more info click here. Categories
All
Archives
October 2022
|





 RSS Feed